How many times have you gotten woken up by the random Instagram notification in the middle of the night? Or had your phone go off during a meeting or job interview? It is time to look into the “Do Not Disturb” feature.
The “Do Not Disturb” feature on your iPhone or IOS device has many options. Below we will describe the options in detail.
OPTION 1
The simplest way to turn on “Do Not Disturb” is from your Control Center. Swipe up from the bottom of the screen to bring up your Control Center. If you have the iPhone X models, you swipe down from the top right of the screen. On the Control Center tap on the half moon toggle to turn on “Do Not Disturb”.

OPTION 2
If you long press the “Do Not Disturb” toggle, you will bring up several options on how long you want “Do Not Disturb” on. You can choose between “1 hour”, “Until I leave this location”, or “Until tomorrow morning”, this option changes depending on the time of day you access this menu.
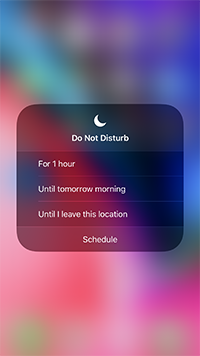
If you tap on schedule, it will lead you to the settings menu.
OPTION 3
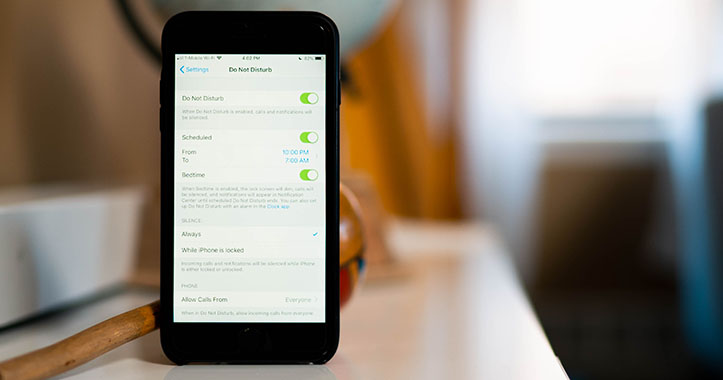
You can also access the settings menu for “Do Not Disturb” from the home screen by tapping on the settings icon, and scrolling down to “Do Not Disturb”.
Turn “Do not Disturb” on by tapping on the circle to the right. Green indicates it is on.
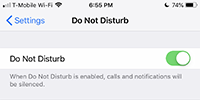
You will also see a half moon on the top right of your screen when “Do Not Disturb” is on.
OPTION 4
You can schedule your “Do Not Disturb” features to specific times by simply tapping the circle next to “Schedule” and setting up the time frame. This option is most useful for your regular sleeping hours.

OPTION 5
You can also enable the “Bedtime” option by tapping on the circle. When this feature is enabled, your lock screen is dimmed and your notifications only appear if you access your notification center by swiping up. You may like this if you tend to wake up in the middle of the night and want to check your phone for the time, but don’t want to get distracted by your notifications.

OPTION 6
You can choose whether you only want your phone to be silenced “Always” or “While iPhone is Locked”.

OPTION 7
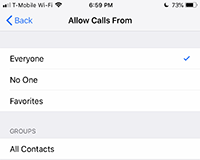
Scrolling further the to “Allow Calls From” you get to specify which calls to allow while “Do Not Disturb” is on. You can choose between “Everyone”, “No one”, or “Favorites”. If you have groups created, you have the option to select that too.
OPTION 8
The following option, I particularly like in case of emergencies. Sometimes you have that urgent phone call that needs to reach you. Those calls are usually more than once within a few minutes.
You can allow repeated calls from the same person within 3 minutes to not be silenced by tapping on the circle next to “Repeated Calls” to turn green.
![]()
OPTION 9
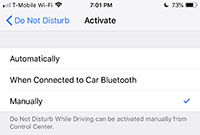
Another helpful option is selecting how you want “Do Not Disturb” to activate when you are driving. In the DO NOT DISTURB WHILE DRIVING SECTION, tap on activate. You have 3 options to select from. I normally have it on “Manually” because I don’t drive but you can also choose between “When Connected to Car Bluetooth” or “Automatically”, which turns “Do Not Disturb” on or off based on the motion detected.

OPTION 10
Finally, you have the option to send auto-reply messages to people that send messages to you while “Do Not Disturb” is on.

You can select who you want your auto-reply message to go to by tapping on “Auto-Reply to” and choosing between “No One”, “Recents”, “Favorites”, or “All Contacts”.
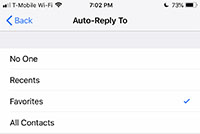
Once you made your selection go back and tap on “Auto-Reply” to customize your message” The iPhone already has a text you can use.

That’s it! Those are all the options the “Do Not Disturb” feature offers! Hope it helps!
Latest Articles
You have been added to our list


